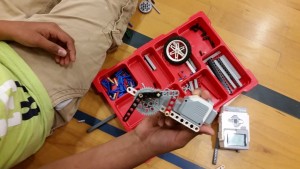
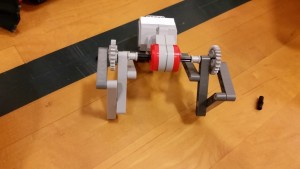
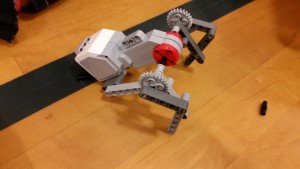
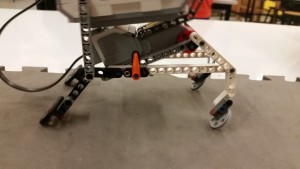
I teach an introductory course using the LEGO Mindstorms EV3 set. My students are 7th graders who are required to take the course and may not necessarily have any background in programming/building. My school is on a trimester schedule so the course runs for thirteen weeks at a time. For this particular trimester I have one class of twenty-four students and one class of thirty-four students. I meet each class for one 50-minute period each day, five days a week. I have thirty-four computers in my classroom and one EV3 kit for every two students. I’ve been teaching this class in its current form for two years, though I’ve been teaching Robotics for eight all together.
I’ve been doing my “Move Without Wheels” unit for a few years by now. I think the original idea came from a similarly named unit contained in LEGO Education EV3’s Engineering and Design pack which is an add-on software pack you can purchase for the education version of the EV3 software. My basic goal was to get something like this:
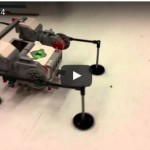
That one is by some of the freshman students at the Center for Engineering Education Outreach (CEEO) at Tufts University, which, by the way, is the organization which hosts this blog. Even though my goal was to have my students make robots that moved like the one above, more often than not I got robots that looked like this:
You’ll notice in the above video that four out of five of the robots used something very similar to a wheel (anything attached to the motor that formed something roundish). And the fifth, the one in the back, just spun around two angled beams connected to the motors. I also received similar results when I presented this unit to teachers at conferences:
Once in a while I would come across an inspired student with an original idea:
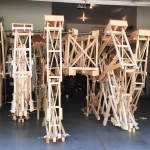
And one time I had a rather special student who came up with this:
So what it comes down to is while I’ll never get most of my students to create something like the amazing wonderment above (inspired by Theo Jansen) I want most of them to be able create something that didn’t just use a substitute for wheels.
I began to look at the process I used to teach this unit. Examining my learning target which was, “I can build a robot that moves straight for more than two feet without the use of wheels,” I began to see that it allowed for students to use almost any piece that resembles wheels but aren’t actually wheels. I would even get some students who would stuff pieces inside a tire to keep it expanded and then call it done.
I needed a new process to get the outcome I desired. I did some research and figured out that what I really wanted my students to do was to use linkages to make their robots move. How to teach this to my students? I started off with some of the cooler videos above, both the ones my student made and the playlist from the CEEO. Once they saw the videos I showed them some resources for building linkages.
I haven’t introduced them to terminology or specific types of linkages like these LEGO ones here. Keep in mind I only have a trimester, these students are young, and I want them making not memorizing. Perhaps I’ll change that in the future.
I used the following resources to help my students get started on their way:
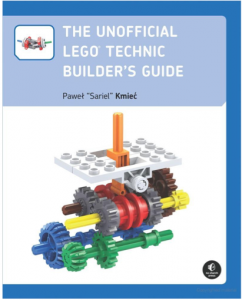
Unofficial LEGO Technic Builder’s Guide by Pawel “Sariel” Kmiec.
This book has a few pages dedicated to linkages. I let the students look at any of the pages they liked to gain ideas for their robots. The pictures and descriptions of linkages in the book are not connected to EV3 bricks or motors, so the students still have to figure out how to turn the ideas into fully-built robots.
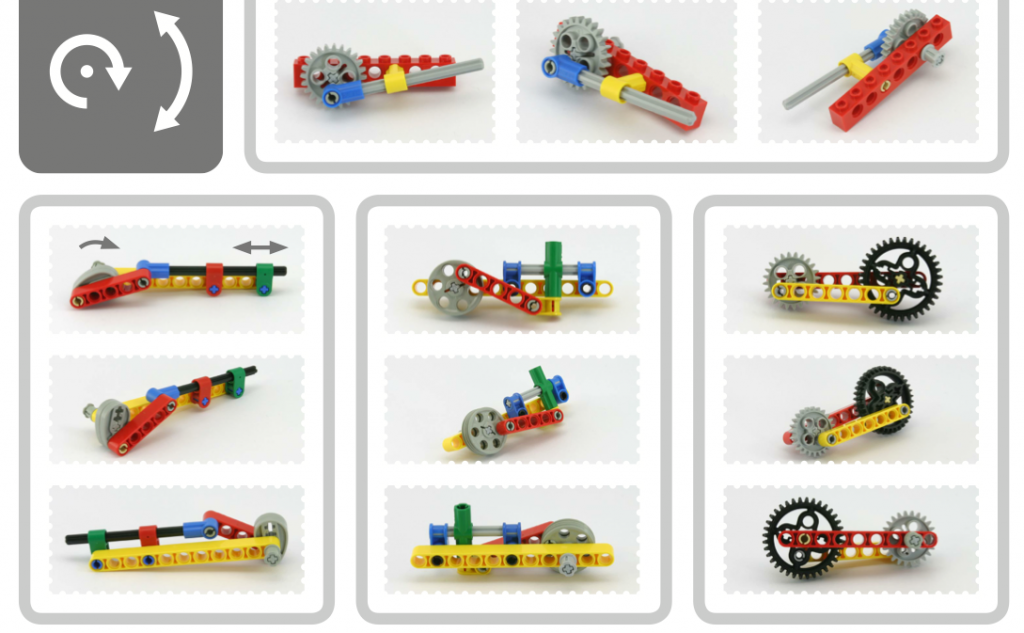
While the above book was really helpful, Yoshihito Isogawa has an amazing set of .pdf books on Technic builds that were indispensable for this unit. For a suggested donation of $10 you can download the entire 215 page.pdf and share it with your class (I asked my district to pay the donation). I refer my students to specific pages in the book and have them build some of the contraptions like the ones on this page:
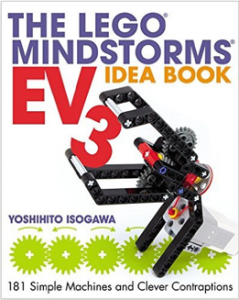
The above .pdf references three books he published on building with LEGO Technic pieces. He also put out an EV3 specif book. While there is no downloadable .pdfs you can get a link to an online copy if you purchase the paper book from No Starch Press here: The LEGO Mindstorms EV3 Idea Book. This book has wonderful pictures of his contraptions, including a whole chapter with specific ones designed to create movement.
These simple contraptions coupled with the earlier videos provide enough fodder for my students to get started. Here’s what happened in the first week.
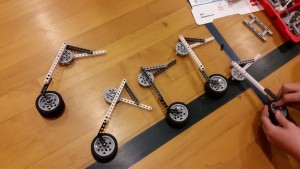
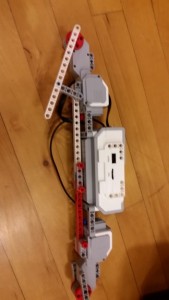
First they started trying to build linkages and attach them to motors:
From this basic start we then get the connection of motors to bricks:
Here’s a few students starting to express their ideas and show their thought process as they build:
Those two brothers in the last video were the same ones who created the uphill climber with the tape on the wheels that went up a super steep ramp in my A Week in the Life #6 post.
And here he tries it out:
You’ll notice that we were in the gymnasium this week due to state standardized testing kicking me out of my room which has a computer lab. I pile all their stuff up on a cart, bring a few bins of extra LEGO pieces and let them play and build.
I have had arguments (professional discourse not fisticuffs) with administrators in the past over learning targets and whether there should be a new learning target presented each day with a formative assessment at the end of each day to test whether the learning target has been met. I don’t believe this is the only way to teach. I have an overall learning target for a unit (or perhaps two or three) and I give my students time to work towards creating a product that shows they’ve met that learning target.
For example the first day I wrote on the board, “I can build a linkage by copying a design from Yoshihito Isogawa’s LEGO Technic creations.”
The second day I gave them the more expansive learning target for the unit, “I can use linkages to build a robot that moves without the use of wheels propelling it forward.” And then we would spend the next two weeks – perhaps a bit less – working towards that target. You’ll notice the way I wrote the target this time does allow for them to use wheels, but not for those wheels to be the primary item that is turned by a motor and then used to move the robot.
I would argue (and have at length) that this type of slow exploration and play with LEGO pieces is important, perhaps vital to their learning process. We speak about design being an “iterative” process, meaning that you have to do something over and over to get it right. This takes time and is essential to their ability to learn and not just memorize. I compare the tinkering with robots to the process of writing rough drafts in another class. They do way more iterations or “producing of new drafts” in my class this way because they are so excited about what they’re doing.
There is no way we are going to get to a final product like this…
…in just two or three days. My post next week will show a lot more like the video above, some super cool successful robots and some not quite there yet.
As always I appreciate your comments, questions and suggestions.
Also in A Week in the Life
Ian Chow-Miller covers the highs and lows of his introductory robotics class for 7th graders.
- A Week in the Life #7: Sensor Fun
- A Week in the Life #8: Moving With Linkages
- A Week in the Life #9: Walk This Way…
Latest posts by Ian Chow-Miller (see all)
- Using Video to Assess Robotics Students - 21 November 2018
- A Week in the Life #12: Robot Monsters! - 9 February 2017
- A Week in the Life #11: Sumobot to Battlebot - 28 June 2016
- A Week in the Life #10: Candy Sorter - 27 June 2016
- A Week in the Life #9: Walk This Way… - 23 November 2015
